Showing posts with label Mod Podge. Show all posts

Saturday, July 27, 2013

Royal Flush in Resin

I am always on the hunt for projects that can be gifts for a guy. With boyfriends, dads, uncles, and grandfathers one needs a good "man" project.

I used EasyCast Resin, Castin' Crafts Mold Release, a mold, Mod Podge, Glossy Accents, and a deck of cards. Also, some scrap clear packaging, a permanent marker, and some scissors.
*ETI suggests wearing gloves when working with resin for safety* Gloves also help keep your nails nice :)


To make a template for the mold cavity I'm using a piece of scrap clear packaging (this is from a Martha Stewart Mold).


Put the packaging over the mold cavity and trace inside the space using a permanent marker. Cut out the packaging and now we have a template.


I'm using the cards to make a royal flush to go in the resin. You could also do a full house or black jack!


The borders of the cards are too wide to fit my template so I trimmed all the corners down.


Now that it fits I need to hold it that way!


Using some Glossy Accents, I glued all the card corners together. Glossy Accents dries in about 20 minutes but stays wet long enough to move the cards around to fit the template.


Put the template over the design and trace around it with the permanent marker.


Cut this out carefully.


Now is the time to do any trimming or regluing if needed.


Paint a couple of coats of Mod Podge on the card pieces to seal them.


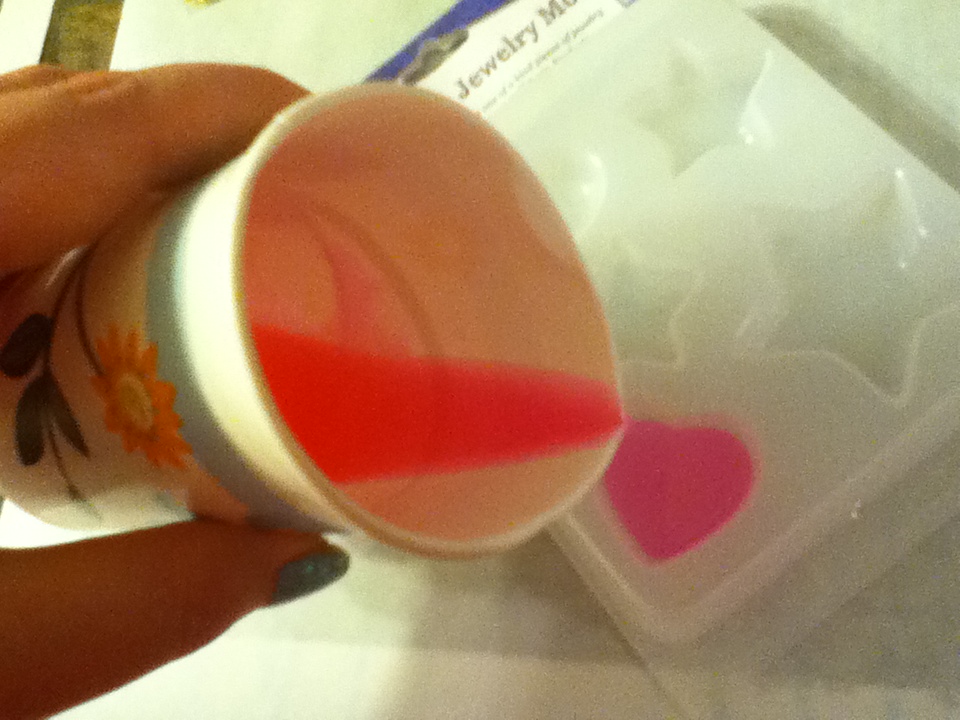
Spray the mold with mold release and mix up a batch of resin. Pour a layer of resin into the mold.


This is a mold from Yaley Enterprises.
They make resin and Deep Flex Resin Molds along with a variety of colorants.
Check out all the offer here: http://yaley.com/SitePages.asp?ID=46


Submerge the cards face down into the resin.


Top off the mold cavities with some more clear resin and let set to harden for 24-72 hours.


Very nice man-ly resin!


To turn these into key chains I'm using E-6000, bails, chain, split rings, key chain rings, some key chain hooks, and jewelry pliars.


Apply some E-6000 to the bail...


Press the bail firmly to the back of the resin piece and let dry for 24 hours to get maximum adhesion.


These are my key chain hardware...


Attach the keychain ring to the key chain hook...


Attach a piece of chain to the key chain ring using a split ring...


Attach the resin piece to the chain using another jump ring...


Now these key chains are ready for gifting... I think they'll be a real winner!!!


Saturday, July 13, 2013

Bell X1 Discography Jewelry in honor of "Chop Chop" their new release

I am so excited about the new album just released by Bell X1! In honor of the new release I wanted to make something special.


The new album by Bell X1 is called Chop Chop. It has a great sound and the guys from Bell X1 are so awesome they put the entire new album up on Sound Cloud for everyone to listen to!
You can listen to it here: https://soundcloud.com/#bell-x1/sets/chop-chop-1
You can also order or download the album here: http://www.amazon.com/s/ref=nb_sb_ss_i_0_8?url=search-alias%3Daps&field-keywords=bell+x1+chop+chop&sprefix=bell+x1+%2Caps%2C323


This is also a great chance to tell you about EnviroTex Lite and show you the doming technique.
The key supplies to make these resin pieces are EnviroTex Lite, Mod Podge, and a paper punch (I'm using a 1 inch square. You can also cut your images out by hand if you don't want to get a punch.
*ETI suggests wearing gloves when working with resin for safety* Gloves also help keep your nails nice :)


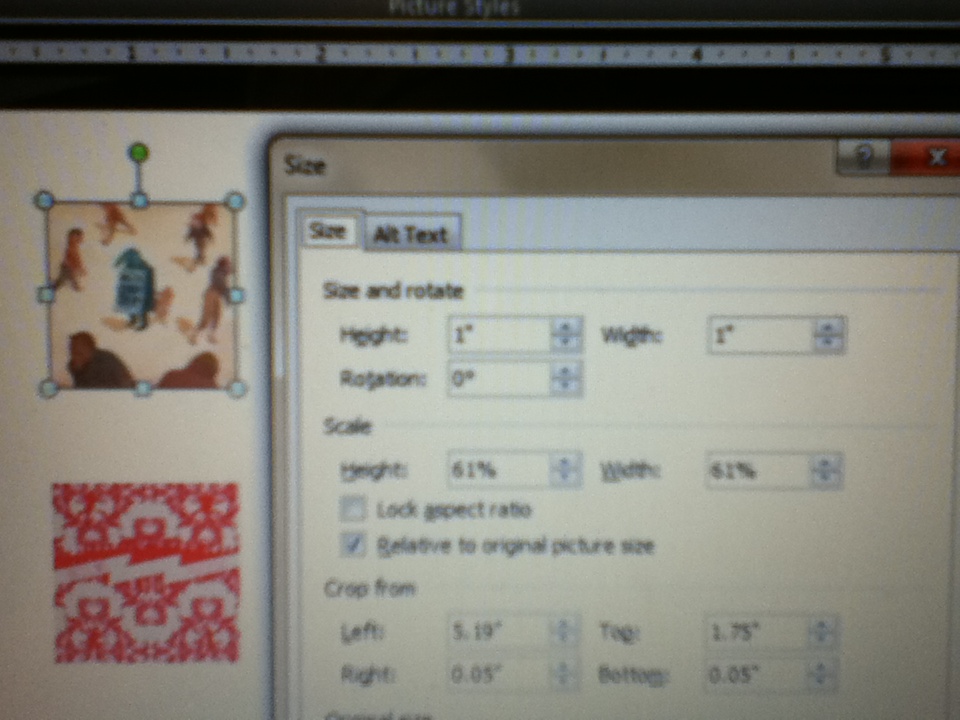
We also need some images! I'm using the covers of Bell X1's albums. Insert the images to your preferred program. I'm using Microsoft Word. You will need 2 of each image.


You can format the image and change the size to fit your paper punch. For mine, I sized them 1 inch by 1 inch. Be sure to leave enough space between the images to fit you paper punch.


You can use the punch upside down to line up the images.


Once you have punched out the images they need to be coated with a sealant so the paper doesn't get "wet" and "blotchy" in the resin process. I'm using 2 coats of Mod Podge.
The green surface I'm using is the backside of a silicone mold. The silicone offers easy clean up but you can also cover your surface with wax or parchment paper.


Glue two of the images together back-to-back making sure that you get them both right side up.


Now you should have some 2 sided images that are coated with sealant.


Mix up a batch of EnviroTex Lite (it mixes almost just like EasyCast Resin) the big differences are: it is used specifically for resin projects that are 1/8 inch deep or less, it is a bit thicker than EasyCast, and it hardens more quickly on small projects!

Start by slowly dripping some resin onto the center of the image.


Using a toothpick, spread the resin over the image. Be sure to get all the way to the edges but try not to go over them. Once it has been fully coated you can slowly drip extra resin to get a nice domed effect.
If you have some bubbles you can exhale over the surface to pop them. Be sure not to inhale the resin fumes though! The carbon dioxide from your breath is what pops the bubbles not the force of the air. A heat gun on low will also work (you must keep it moving though you don't want to burn or melt anything) A candle lighter will also work but don't get it too close to the surface or anything else for that matter. I don't want to be responsible for anyone setting things on fire!


Let these harden for 8- 12 hours. They should not be tacky after the 8-12 hours but they will still be somewhat pliable. It will take about 48 hours for them to be completely hardened.

Once they have set for the initial 8-12 hours they will be set enough for you to flip them over and coat the other side with resin.


When all of the images have been coated on both sides and have hardened at least 8-12 hours we can start putting our necklace (or bracelet) together.
For the jewelry making portion you'll need a chain (necklace or bracelet), jump rings, a drill bit (or dremel, or hand drill), and jewelry pliers.


When working on such a small surface, especially being a two sided piece, I get nervous about the electric dremel skittering across the surface. You can actually take the drill bit and twist it manually through the piece.
If you are worried about the drill bit scratching the surface you're working on you can put a popsicle stick underneath the area you're drilling.


Attach them to the chain loops with jump rings. By hooking the jump ring in the chain loop it will hold the charm in the same spot while wearing.


Where you drill the hole will dictate how they hang on the chain.
The first 4 albums are drilled in the top right corner...


The last 4 albums are drilled in the top left corner...


For the center tile (a pic of the band) I drilled in both corners...


Here you can see how the hole placement changes how the charms hang on the chain.


A bracelet will hang more in a straight line like this...


While the necklace would hang more like this...


I just love how some paper can be turned into a great piece of jewelry!


Saturday, May 11, 2013

Black Light Reactive Resin Charms

I am so excited that this worked out so well! EasyCast Resin really is a wonderful and flexible product. I wanted to see if I could create jewelry that would glow under a black light and it worked perfectly.


I purchased a cheap black light at Wal-Mart for $5. It is a compact fluorescent that can be screwed into any normal sized light socket. I also saw a bulb just like this one of a different brand at Home Depot for the same price. While these bulbs don't pack the same punch as the ones in night clubs they are MUCH better than the ones that look like standard incandescent bulbs!


I started by gathering my supplies: EasyCast Resin, Castin' Crafts Mold Release, Mod Podge, a mold, flake stickers, glitter, microbeads, screw in eye pins, and a Hi-Liter!

*ETI suggests wearing gloves when working with resin for safety* Gloves also help keep your nails nice :)

The Hi-Liter contains flourescence which will glow under a black light this will work for most yellow, pink, and orange hi-lighters. Sadly, the purple and blue did not glow- it is easy to check which will glow before adding them to your resin by writing with them on a piece of paper and holding them under a black light.


Coat both sides of your stickers with the Mod Podge and let dry.


Spray your mold with mold release and set aside to dry while you mix a batch of resin.


Now take the hi-lighter and open it up to get at the core. I found a seam in the plastic and used a pair of scissors to pry it apart.


Add a few drops of the hi-lighter fluid by sqeezing the core. I used 6 drops for this batch. Gently mix this into the resin. I stirred for about a minute to get it completely incorporated.


Pour the resin into the mold cavities you've chosen.


This is a mold from Yaley Enterprises.
They make resin and Deep Flex Resin Molds along with a variety of colorants.
Check out all the offer here: http://yaley.com/SitePages.asp?ID=46


Put the stickers into the resin face down and press them to the bottom of the mold. A toothpick works great for this.


I added some glitter.


And some microbeads.


Put this in a safe place to harden for 24-72 hours.
Once the resin has set you will be able to easily pop them out of the mold.


To turn the resin piece into a charm I am using a screw in eye pin. You simply pick the spot you want to be the top and firmly apply pressure while screwing the pin into the resin.


If you are worried about the stability of the screw you can unscrew it, apply a dab of E-6000 adhesive, and screw it back in. The E-6000 will need to set for 24 hours to be at its maximum adhesion.


Now we have some awesome resin pieces that glow under black light! They are perfect for clubs or raves if your a party animal. Or if you're a bit more laid back (like me!) a Dance Dance Revolution party night with some friends!