After making the last disc I had an idea for another version that is totally geek chic!

I'm using EasyCast resin, PearlEx powder, a Cats-Purrfect mold, resin color, glitter, Castin' Crafts mold release, and some alphabet beads.
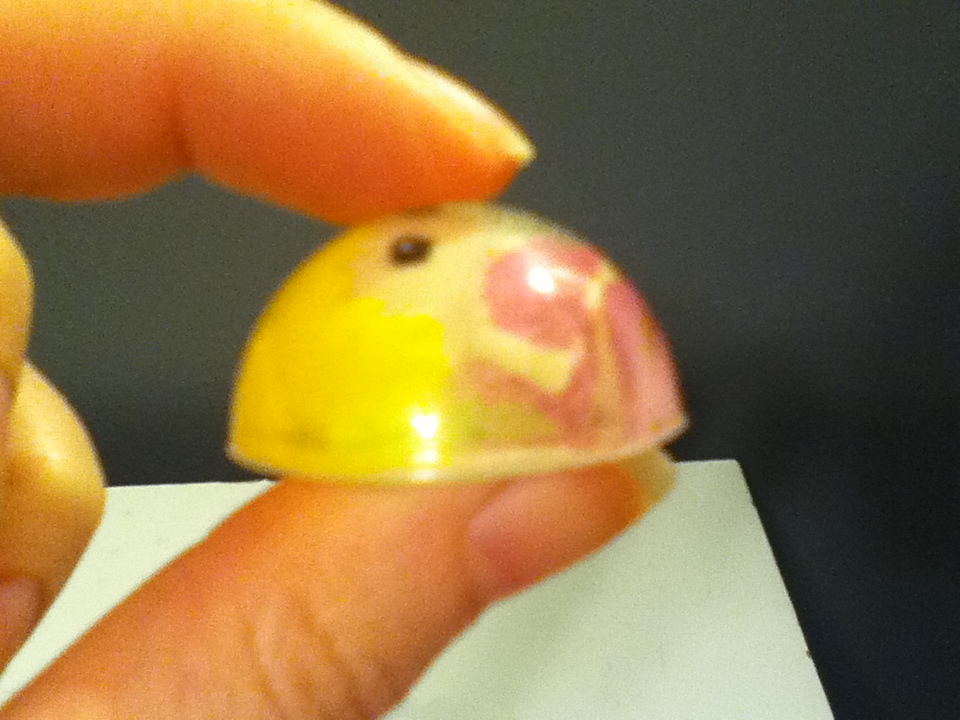
*ETI suggests wearing gloves when working with resin for safety* Gloves also help keep your nails nice :)

The Computer Disc mold is just one of the great molds made by Cats-Purrfect. Her molds work amazingly with resin! You can check out more of her molds here: http://cats-purrfect.com/collections/49240-my-3d-resin-molds

This mold has 3 depths giving you the option to have several colors!
Spray the mold with mold release and mix up a batch of resin.
I'm starting by coloring a tiny amount of the resin light purple- this is done by coloring it white then adding the smallest amounts of red and blue possible! You can add more red or blue to get the purple you're after.
I put a drop of the red and blue directly in small mold cavities to help keep from adding too much (just wipe out the mold with a paper towel when you're down)

I also mixed the light purple in a small mold cavity since I only need a little in this color. And of course add some glitter!

Use a toothpick to slowly add resin to the deepest areas of the mold being careful not to over flow. Then let these set for at least a couple of hours before adding the next layer.

The next area I want to fill in is the disc's sliding metal piece so I want a nice silver color.
PearlEx Powder by Jacquard in Silver 663 PearlEx works wonderfully with resin! You can see all the colors they make here: http://www.jacquardproducts.com/pearl-ex-pigments.html

Just add a pinch of PearlEx directly to the resin and stir in making sure there aren't any lumps.

Now it's a great metallic silver!

Use the same method to fill in this area of the mold and give it another couple of hours to set.

To fill in the main area of the disc I'm using a slightly darker purple. I started with white then added about double the amount of red and blue as before.

Let this set to harden for 24-72 hours.

To turn this awesome little disc into a necklace I'm using Aanraku Silver Leaf Medium Bails. Aanraku has loads of pieces that work perfectly with resin! You can check out what they offer here: http://store.abasg.com/mm5/merchant.mvc

I also need some E-6000 and a necklace and some alphabet beads.

Add a dab of E-6000 to the bail...

Firmly press the bail to the back of the disc and let it set for 24 hours to achieve the maximum adhesion.

Next I picked out a phrase made with alphabet beads to go on the disc's label!
I Speak Geek, Nerdy Girl, Tech Savvy, Geek Chic, Back To School are just a few of my ideas.

To attach I'm using a drop of E-6000 on the back of each bead.

After 24 hours to let the glue reach its maximum adhesion, this Nerdy Girl is ready to strut some Geek Chic glory on campus :)


