Friday, March 29, 2013

Pearlescent Swirl


This tutorial will show you how to make this dangle necklace, along with the resin swirl technique, and a sampling of using pearl powder and use of some different molds.


We need some EasyCast Resin, Castin' Crafts Mold Release, some Pearl Powder, a Wilton Gumpaste Mold, and a Silicone Mold from A Little of This and That. For coloring I'm using Anita's Fuchsia acrylic paint and Anita's Hawaii acrylic paint.
*ETI suggests wearing gloves when working with resin for safety* Gloves also help keep your nails nice :)


Start by spraying the molds with Castin' Crafts Mold Release and Mix a batch of EasyCast Resin.
 

Seperate the resin into 2 cups- one for each color and add a scoop of pearl powder to each.


Add a drop of paint to each cup and mix well. Just keep working powder lumps, they will distribute in a moment.


Now, have nice pearlescent resin.


Randomly pour some of one color into the mold.


Add some of the other color.


Continue alternating colors until the mold cavities have been filled.


Using a toothpick or an eyepin swirl the colors around- not too much though or the colors will combine.
 

Continue with the rest of the cavities you've chosen and let set for 24-72 hours.


Now, we have some nice swirl pieces.


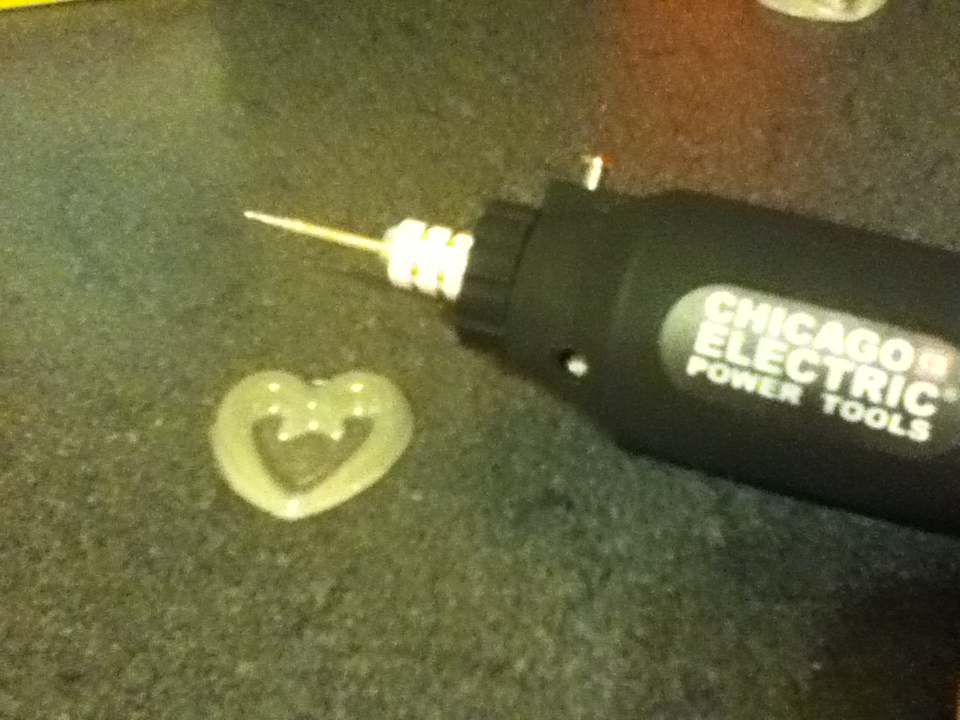
For the piece I'm making, I need to employ a "Dremel" drill- this is a generic brand but it works just fine! I'm using the smallest drill bit I have.


I drilled holes on either side of the large piece to attach a necklace chain.


I also drilled a hole at the bottom of the piece to add a dangle. And a hole at the top of the small pink piece as this is the dangle!


You can sort of see the drill holes here- they just look like small black dots.


To put it all together, I need a necklace chain (seperated in the middle), some jump rings (large and tiny), and pliers.


Using a large jump ring, attach half of the necklace chain to one of the side drilled holes.


Repeat on the other side.


Add a large jump ring to the bottom hole and a tiny jump ring onto that.


Attach the small resin piece to the dangling jump ring with an additional large jump ring.


 Now, it is ready to wear. I just love a good dangle!


Friday, March 22, 2013

Metallic Heart Necklace


First we need to gather our supplies! EasyCast Resin, Castin' Craft Mold Release, a mold. For coloring, I'm using Folk Art Metallic Silver Sterling acrylic paint and Anita's Metallic Antique Gold acrylic paint.
*ETI suggests wearing gloves when working with resin for safety* Gloves also help keep your nails nice :)


Spray the mold with Castin'Crafts Mold Release and let dry and Mix a batch of EasyCast Resin.


Split the resin into 2 cups.


Add a drop of gold paint to one and mix well.


Add a drop of silver to the other and mix well.


Carefully pour the resin into the mold.

This is a mold from Yaley Enterprises.
They make resin and Deep Flex Resin Molds along with a variety of colorants.
Check out all the offer here: http://yaley.com/SitePages.asp?ID=46


Let set for 24-72 hours until hardened.


This mold has a thin center area that I thought would be neat hollow. I grabbed my "Dremel" drill (generic brand) with a polishing bit.


I hollowed out the center and trimmed a little around the edges too.


I thought simplicity might be a nice way to go for this piece so I cut a (neck-sized) piece of narrow black ribbon.


Fold the ribbon in half and insert through the center of the heart.


Take the ends of the ribbon and insert through the loop. Pull tight.


Now our necklace is ready to tie on and go!

Friday, March 15, 2013

Mini Potion Bottles


I am a big sci/fi fantasy geek- LOTR, Star Wars, Star Trek, Twilight, and Harry Potter! The books, the movies, the accessories!!!


When I saw these adorable little glass bottles in the jewelry section of Hobby Lobby I could not resist grabbing some!! And for what better purpose than to make some tiny potions to carry around!

Supplies at the ready!


EasyCast Resin.
 *ETI suggests wearing gloves when working with resin for safety* Gloves also help keep your nails nice :)

Potion ingredients: fine glitter, tinsel glitter, chunky glitter, glitter shapes, mylar flakes... I do love some sparkles!


If you want you potion to have a color base some acrylic paint is a cheap option for opaque.
These little plastic clamps were found at Dollar Tree and can help hold the little bottles but you can also prop them up with what ever you have on hand.


Mix up a small batch of EasyCast Resin.


If you want a potion with a clear base, go ahead and pour some resin into a little bottle. A paper cup is great for this because you can pinch a pour spout. Be sure to leave some room for the potion ingredients!


Pour in some ingredients of your choice. For this one I am using mylar flakes (found in a pack of 8 at Dollar Tree in the finger nail stuff). Mylar flakes don't settle as much as glitter so you can better position them how you like. There is some settling though, so you may want to add more flakes in 20-30 minutes.


I used a head pin to push the flakes into the bottle and position them how I wanted.


To get the flakes into the "shoulders" of the heart shape, I bent the eye into a hook shape.


For a color base, I added some acrylic paint to the rest of the resin.


A drop is really all you need.


Carefully pour the resin into the bottle.


For this one, I am using some matching glitter. Glitter does settle in the resin so you can Repeat this step in 20- 30 minutes. I used a head pin to stir it into the bottle. Leave these to set for 24-72 hours.


Once the resin is hardened, we can put the corks back in. As you can see, I filled the heart too full for the cork to go in all the way. Don't worry!


Trim a bit from the bottom of the cork using a craft knife if you need to!


Check to be sure the corks sit how you want them to.


For extra security, I am using E-6000 to glue the corks in place. Just run some along the bottom edge of the cork and push the corks firmly in place. Let the glue dry for 24 hours for maximum adhesion.


Here they are, all ready for their chain!


Grab a jump ring with a pair of jewelry pliars. With a second set of pliers twist it open. Slide the jump ring into the ring in the cork. For the heart, I put the entire chain into the jump ring so it can slide freely.


For the star, I hooked the jump ring onto a single chain link so that it will be held in place on the chain.


All done and ready to wear to Hogwarts!