
I made these for Christmas presents for some of my friends and one of my college professors and for my mom and sister- They were all over the moon! They couldn't believe that I made the jewelry!

In hopes of sharing some of the joy I want to share this with everyone I can! Who knows maybe it will start a fad!
We'll of course start with gathering our supplies:

It is so weird but my picture is sideways lol and does not want to be put right!
Well, you can still see our basic resin supplies: a Mold (I used the heart cavity), EasyCast Resin, Castin' Crafts Mold Release.
*ETI suggests wearing gloves when working with resin for safety* Gloves also help keep your nails nice :)


Spray the cavity (cavities) of your choice with Castin'Crafts Mold Release and then let it dry and Mix up a batch of EasyCast Resin.
This is a mold from Yaley Enterprises.
They make resin and Deep Flex Resin Molds along with a variety of colorants.
Check out all the offer here: http://yaley.com/SitePages.asp?ID=46

Pour the resin into the cavity (cavities) that you have chosen, but not all the way to the rim- we have to leave some room for the gold!

Pick out some pieces of Gold Flakes to start with.

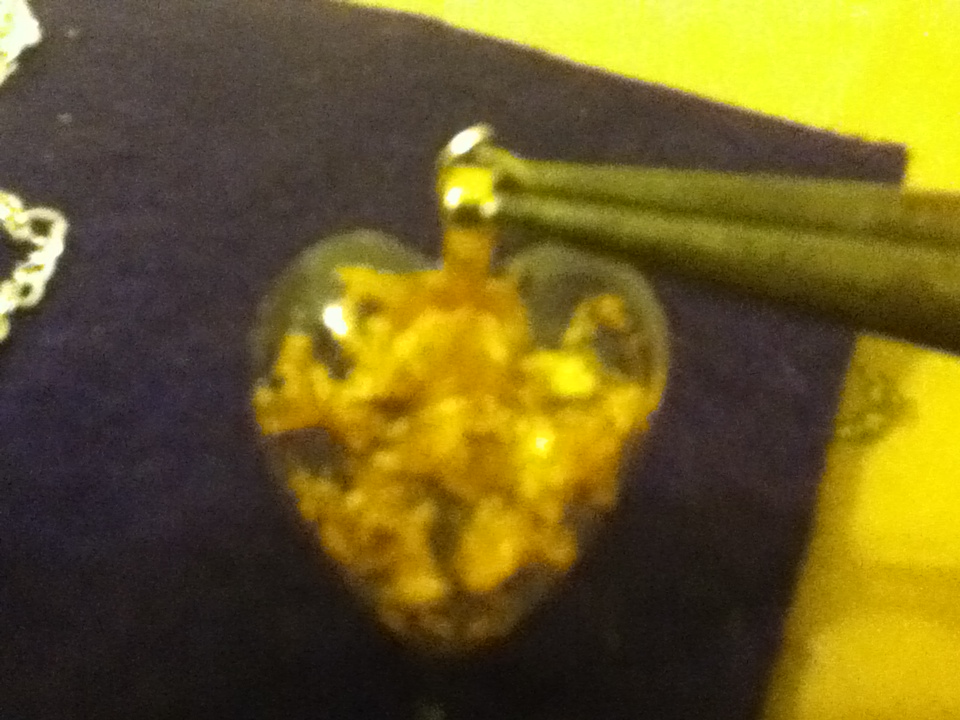
Using the eyepin or toothpick, begin pressing the gold into the resin. The gold flakes are so light they don't settle to the bottom like glitter. This allows us to submerge them to a variety of depths.

Add as much gold as you like, in any pattern you prefer. Remember these aren't going to settle so be sure to push some to the front and be sure that the ones closest to the surface get sealed into the resin.

Once it is to your liking, set it in a level spot for 24-72 hours to harden.

Once the resin has set, gently press down on the mold to pop out your resin piece.

Pick the jewel finding you want- bail or pin back.

Add a tiny bit of E-6000 to the jewelry finding.

If too much is added it will seep around the edges of the jewelry finding- not the end of the world but for those of us with a touch of OCD it's nice to try and avoid it :)

For the bail, we want to be sure and center the hoop just over the top of the heart. Let this dry for about 24 hours for maximum adhesion.

For the pin back, we want to center it on the back of the piece. Once this one has dried it is all done!

Once the glue is dry on the bails, we can add our necklace chain or keychain.

Grab a jump ring with a set of pliers. With the other set of pliers, twist the ring open.
Slip the ring onto the bail of the resin piece.

Slip the chain of your choice onto the jump ring add twist the ring closed.

And here they are, all ready to be packaged for presents! Or worn straight away!!
I have got to try this in a bracelet too!! When I do I will be sure to share the results!!
No comments:
Post a Comment
Thanks for stopping by!
Note: Only a member of this blog may post a comment.