I am so excited about the new album just released by Bell X1! In honor of the new release I wanted to make something special.
The new album by Bell X1 is called Chop Chop. It has a great sound and the guys from Bell X1 are so awesome they put the entire new album up on Sound Cloud for everyone to listen to!
You can listen to it here:
https://soundcloud.com/#bell-x1/sets/chop-chop-1
You can also order or download the album here:
http://www.amazon.com/s/ref=nb_sb_ss_i_0_8?url=search-alias%3Daps&field-keywords=bell+x1+chop+chop&sprefix=bell+x1+%2Caps%2C323
This is also a great chance to tell you about EnviroTex Lite and show you the doming technique.
The key supplies to make these resin pieces are EnviroTex Lite, Mod Podge, and a paper punch (I'm using a 1 inch square. You can also cut your images out by hand if you don't want to get a punch.
*ETI suggests wearing gloves when working with resin for safety* Gloves also help keep your nails nice :)
We also need some images! I'm using the covers of Bell X1's albums. Insert the images to your preferred program. I'm using Microsoft Word. You will need 2 of each image.
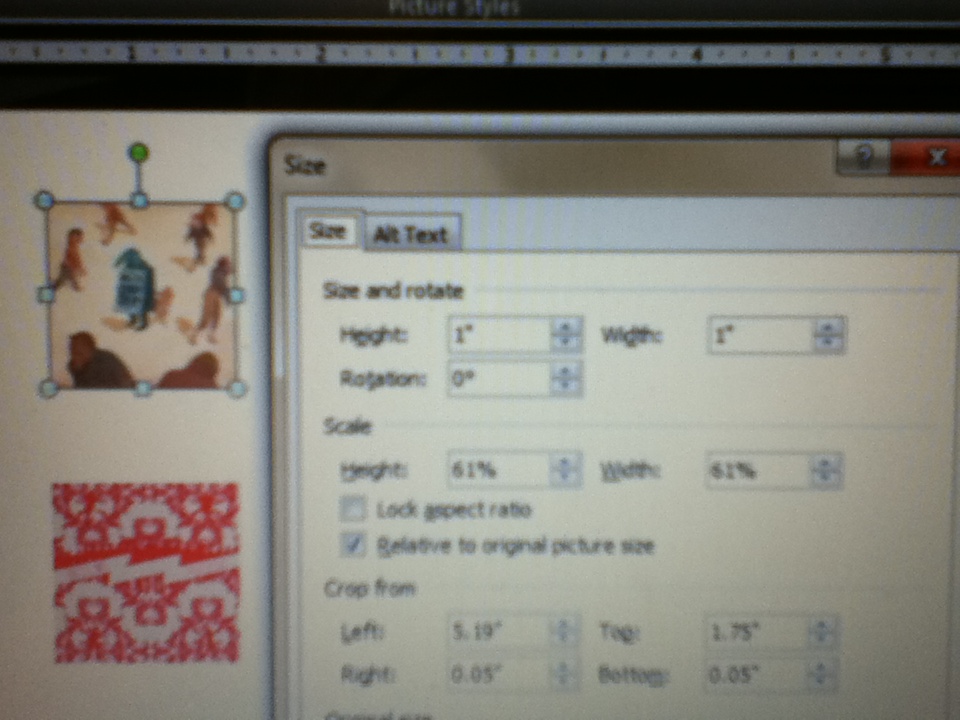
You can format the image and change the size to fit your paper punch. For mine, I sized them 1 inch by 1 inch. Be sure to leave enough space between the images to fit you paper punch.
You can use the punch upside down to line up the images.
Once you have punched out the images they need to be coated with a sealant so the paper doesn't get "wet" and "blotchy" in the resin process. I'm using 2 coats of Mod Podge.
The green surface I'm using is the backside of a silicone mold. The silicone offers easy clean up but you can also cover your surface with wax or parchment paper.
Glue two of the images together back-to-back making sure that you get them both right side up.
Now you should have some 2 sided images that are coated with sealant.
Mix up a batch of EnviroTex Lite (it mixes almost just like EasyCast Resin) the big differences are: it is used specifically for resin projects that are 1/8 inch deep or less, it is a bit thicker than EasyCast, and it hardens more quickly on small projects!
Start by slowly dripping some resin onto the center of the image.
Using a toothpick, spread the resin over the image. Be sure to get all the way to the edges but try not to go over them. Once it has been fully coated you can slowly drip extra resin to get a nice domed effect.
If you have some bubbles you can exhale over the surface to pop them. Be sure not to inhale the resin fumes though! The carbon dioxide from your breath is what pops the bubbles not the force of the air. A heat gun on low will also work (you must keep it moving though you don't want to burn or melt anything) A candle lighter will also work but don't get it too close to the surface or anything else for that matter. I don't want to be responsible for anyone setting things on fire!
Let these harden for 8- 12 hours. They should not be tacky after the 8-12 hours but they will still be somewhat pliable. It will take about 48 hours for them to be completely hardened.
Once they have set for the initial 8-12 hours they will be set enough for you to flip them over and coat the other side with resin.
When all of the images have been coated on both sides and have hardened at least 8-12 hours we can start putting our necklace (or bracelet) together.
For the jewelry making portion you'll need a chain (necklace or bracelet), jump rings, a drill bit (or dremel, or hand drill), and jewelry pliers.
When working on such a small surface, especially being a two sided piece, I get nervous about the electric dremel skittering across the surface. You can actually take the drill bit and twist it manually through the piece.
If you are worried about the drill bit scratching the surface you're working on you can put a popsicle stick underneath the area you're drilling.
Attach them to the chain loops with jump rings. By hooking the jump ring in the chain loop it will hold the charm in the same spot while wearing.
Where you drill the hole will dictate how they hang on the chain.
The first 4 albums are drilled in the top right corner...
The last 4 albums are drilled in the top left corner...
For the center tile (a pic of the band) I drilled in both corners...
Here you can see how the hole placement changes how the charms hang on the chain.
A bracelet will hang more in a straight line like this...
While the necklace would hang more like this...
I just love how some paper can be turned into a great piece of jewelry!