
My supplies: EasyCast Resin, spoons and cups (1 for each color- I used heavy duty cupcake liners because I was short on paper cups), Glow in the Dark puff paint, key chain bezel, alphabet beads, shaped glitter, and tweezers.
*ETI suggests wearing gloves when working with resin for safety* Gloves also help keep your nails nice :)

I started by spelling a word and making sure that it fit into the keychain.

Next, I mixed a small batch of resin.

I divided the resin into all the cups (cupcake liners).

I added a dab of glow in the dark puff paint into each cup and mixed well.

Work quickly to keep the colors from running all around. The thickness from the added puff paint helps give a few extra seconds to switch between colors.

I started with the natural color and poured a strip diagonally across the top portion of the bezel.

I added strips of green, yellow, and orange to fill the bezel.

I used the back of my spoon to blend the edges where the color meet.

Next, I added my alphabet beads. I started by adding the first and last letter, then the middle letter, then in between those to try and get even spacing.

Then, I went around the word with these little flower shaped glitter in green, yellow, and orange.

Let this sit for 24-72 hours for the resin to harden.
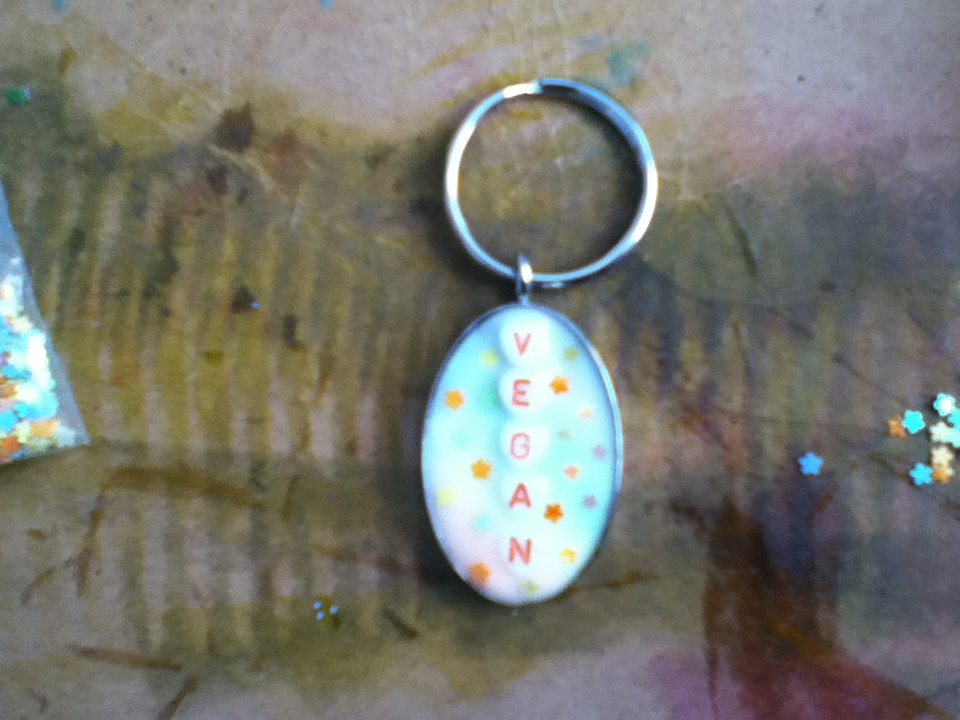
It looks awesome under a black light!

It also glows super bright!! Now, I shouldn't have any problems finding my keys in the bottom of my purse!


