Showing posts with label LorAnn Mold. Show all posts

Saturday, July 6, 2013

Glowing Jawbreaker Set

I was pondering the semi-opacity of the glow in the dark puff paint and got to thinking about jawbreakers. I did some jawbreaker fingernails a while back and thought this would be a neat way to transfer the concept to resin. As an added bonus they glow!

For supplies I used EasyCast Resin, Castin' Crafts Mold Release, the jewel mold, glow in the dark puff paint in natural color, and red, yellow, and blue glitter in hexagon and ultra fine.
*ETI suggests wearing gloves when working with resin for safety* Gloves also help keep your nails nice :)

I mixed up a batch of EasyCast resin and added a little of each type of glitter- remember jaw breakers are mainly off white with splotches of color. Then I added the glow paint to get the opaque color.


I sprayed the mold with Castin'Crafts Mold Release the I poured the resin mixture into the round jewel cavities to get the jaw breaker shape. Let this set for 24-72 hours to harden.
 

This is some resin "jawbreakers"glowing away.
I poured the left over resin mix into some tiny bottle caps which will be added to my scrap resin piece supply :)


To make these into a set of earrings I used some earrings with loops attached to the front, some small split rings, E-6000 adhesive, and jewelry pliers. You need 4 resin pieces for 2 earrings.


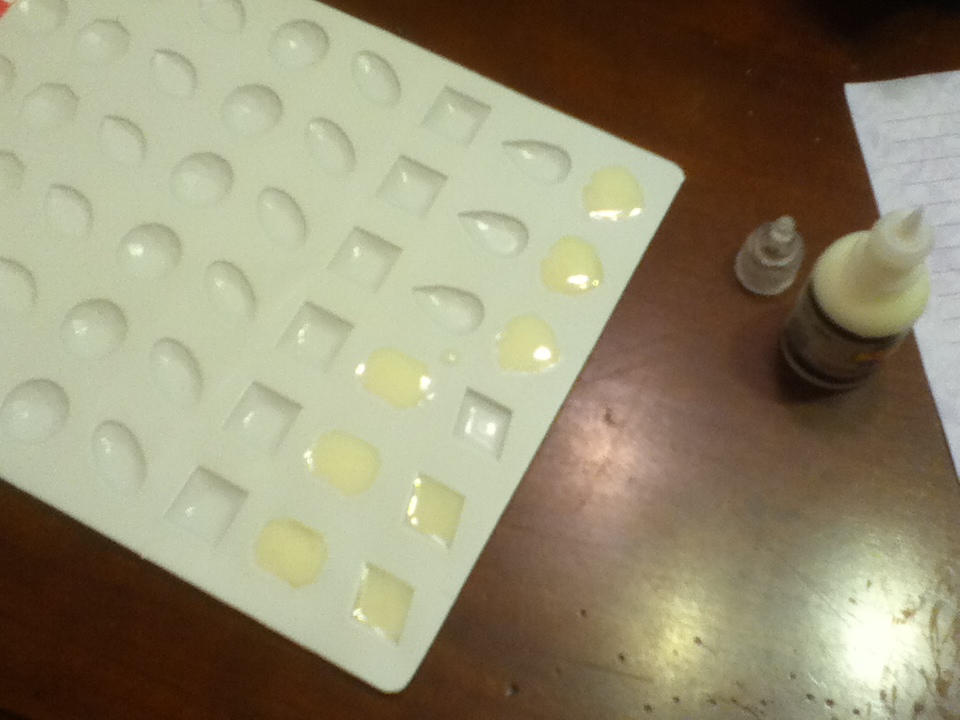
Apply E-6000 to the back of one resin pieces...


Press a split ring into the adhesive with half of the ring sticking over the edge of the resin to create a loop.


Take a second resin piece and sandwhich the split ring in between. Repeat this for the next earring and let dry for 24 hours to get maximun adhesion.


I attached a couple of split rings to the loop on the earring...


Then attach the resin "jaw breaker"!


For a ring, you'll need a ring blank and E-6000 adhesive.


Apply some E-6000 to the ring blank.


Press the resin piece onto the ring blank and let dry face down for 24 hours to get maximum adhesion.


I think these are too cute!!

<a href="http://www.bloglovin.com/blog/9825281/?claim=w4s9yn4gs56">Follow my blog with Bloglovin</a>

Saturday, May 25, 2013

Glow in the Dark Resin Jewel Hair Pins

While working on making things glow, I thought I would explore not only black light reactions but also making resin glow in the dark! For my first glow in the dark resin project I made some awesome glowing jewel hair pins!


Gather your supplies… EasyCast Resin, Castin’ Crafts mold release, a cup and spoon, Glow in the Dark Puff Paint, a mold, E-6000, and some hair pins.  
*ETI suggests wearing gloves when working with resin for safety* Gloves also help keep your nails nice :)


The mold I’m using is actually made for hard candy. This will come up again when we are removing our resin from the mold.


Spray your mold with Castin'Crafts Mold Release and set aside to dry and mix a small batch of EasyCast Resin.


Next, I am adding some glow in the dark 3d paint (also known as puff paint or deminsional fabric paint).  The natural color glows the brightest but there are other glow colors too: yellow, pink, orange, and green. I’m using Scribbles brand but Tulip brand should work too.


I just squeezed a little blob straight into the resin. Gently mix it in for another 30 seconds or so until it is a uniform color.

 
Pour it into the mold. A paper cup it great for this because you can pinch a pour spout into the side. For small molds like the one I’m using, pour slowly to avoid overflowing the cavities.


Set aside to harden for 24-72 hours.


The mold is made of plastic that is thin and brittle and really wants to hang on to the resin so, put your mold into the freezer for 10 minutes. The cold causes the molecules of the resin to contract which, in turn, helps the resin to release from the mold. It should now easily pop out of the mold. You may need to repeat this to get all of your resin pieces out of the mold.
 

Now they are out! Here is what the look like in regular light…

This is under a black light…


Here they are glowing away with the lights out!


To turn the jewels into hair pins, we will need some E-6000 adhesive and some hair pins ofcourse!

Take 2 jewels of the same shape and put some E-6000 on the back of one. Firmly press the hairpin into the adhesive on the back.


Add more E-6000 to the back of the other jewel and sandwich it onto the other jewel with the hair pin in between the two jewels. Be sure that you press the sandwich together firmly and that the jewels are lined up. Let this sit for 24 hours to get maximum adhesion.


Here is the side view of the sandwiched hair pin.


Now it is ready to wear. I’m thinking of a bun with several of these surrounding it!