Showing posts with label Acrylic Paint. Show all posts

Saturday, July 20, 2013

Glowing Paint Button Bracelet

I'm still going crazy for glowing stuff this summer! I wanted to see how well glow in the dark acrylic paint would work in the resin!
It worked like a charm, or in this case, like a button!


I'm using EasyCast Resin, Castin' Crafts Mold Release, Glow in the Dark Acrylic Paint, and a button mold and a bangle mold.
*ETI suggests wearing gloves when working with resin for safety* Gloves also help keep your nails nice :)


These are  glow in the dark paints that I'm using:


Spray your mold with mold release the mix up a batch of EasyCast Resin. Carefully pour the resin into the mold but leave a little space at the top to add color.


I'm using a toothpick to add some paint to the resin and stir it around. You can ofcourse mix each color seperatly to get a more even coloring before pouring but since I am making tiny buttons I didn't want to waste all those cups!


Once you've mixed the color in to your liking let these sit for 24- 72 hours until hardened.


The paint leaves them slightly translucent and....


The have a great glow!


I wanted to make a button bangle out of these! I usually take my left over resin and pour it into the botton mold- who can have too many buttons!


This bangle mold needs 15 buttons to go all the way around. You can put your buttons into a pattern or just be spontaneous with it!


This is a mold from Yaley Enterprises.
They make resin and Deep Flex Resin Molds along with a variety of colorants.
Check out all the offer here: http://yaley.com/SitePages.asp?ID=46


Mix up a batch of EasyCast Resin and carefully pour it into the bangle mold but only about 3/4 full to leave room for the buttons.


Carefully insert the buttons making sure they are fully covered with resin. You can add another layer of resin on top if needed.


Let this set for 24- 72 hours!


Now you have a cute button bangle...


And it can glow too!


Friday, March 29, 2013

Pearlescent Swirl


This tutorial will show you how to make this dangle necklace, along with the resin swirl technique, and a sampling of using pearl powder and use of some different molds.


We need some EasyCast Resin, Castin' Crafts Mold Release, some Pearl Powder, a Wilton Gumpaste Mold, and a Silicone Mold from A Little of This and That. For coloring I'm using Anita's Fuchsia acrylic paint and Anita's Hawaii acrylic paint.
*ETI suggests wearing gloves when working with resin for safety* Gloves also help keep your nails nice :)


Start by spraying the molds with Castin' Crafts Mold Release and Mix a batch of EasyCast Resin.
 

Seperate the resin into 2 cups- one for each color and add a scoop of pearl powder to each.


Add a drop of paint to each cup and mix well. Just keep working powder lumps, they will distribute in a moment.


Now, have nice pearlescent resin.


Randomly pour some of one color into the mold.


Add some of the other color.


Continue alternating colors until the mold cavities have been filled.


Using a toothpick or an eyepin swirl the colors around- not too much though or the colors will combine.
 

Continue with the rest of the cavities you've chosen and let set for 24-72 hours.


Now, we have some nice swirl pieces.


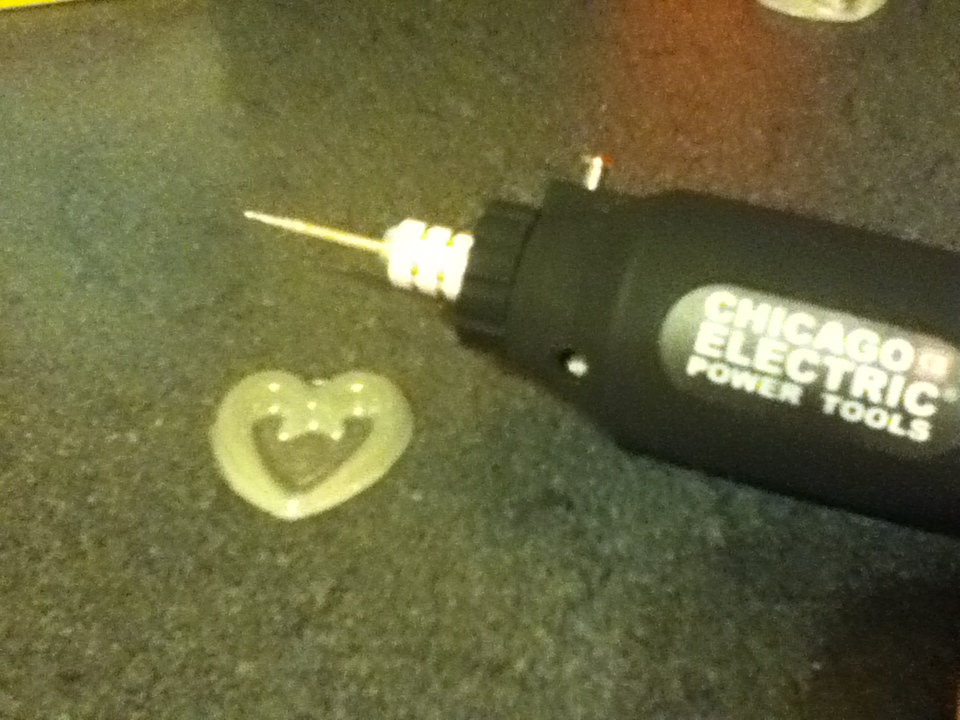
For the piece I'm making, I need to employ a "Dremel" drill- this is a generic brand but it works just fine! I'm using the smallest drill bit I have.


I drilled holes on either side of the large piece to attach a necklace chain.


I also drilled a hole at the bottom of the piece to add a dangle. And a hole at the top of the small pink piece as this is the dangle!


You can sort of see the drill holes here- they just look like small black dots.


To put it all together, I need a necklace chain (seperated in the middle), some jump rings (large and tiny), and pliers.


Using a large jump ring, attach half of the necklace chain to one of the side drilled holes.


Repeat on the other side.


Add a large jump ring to the bottom hole and a tiny jump ring onto that.


Attach the small resin piece to the dangling jump ring with an additional large jump ring.


 Now, it is ready to wear. I just love a good dangle!


Friday, March 22, 2013

Metallic Heart Necklace


First we need to gather our supplies! EasyCast Resin, Castin' Craft Mold Release, a mold. For coloring, I'm using Folk Art Metallic Silver Sterling acrylic paint and Anita's Metallic Antique Gold acrylic paint.
*ETI suggests wearing gloves when working with resin for safety* Gloves also help keep your nails nice :)


Spray the mold with Castin'Crafts Mold Release and let dry and Mix a batch of EasyCast Resin.


Split the resin into 2 cups.


Add a drop of gold paint to one and mix well.


Add a drop of silver to the other and mix well.


Carefully pour the resin into the mold.

This is a mold from Yaley Enterprises.
They make resin and Deep Flex Resin Molds along with a variety of colorants.
Check out all the offer here: http://yaley.com/SitePages.asp?ID=46


Let set for 24-72 hours until hardened.


This mold has a thin center area that I thought would be neat hollow. I grabbed my "Dremel" drill (generic brand) with a polishing bit.


I hollowed out the center and trimmed a little around the edges too.


I thought simplicity might be a nice way to go for this piece so I cut a (neck-sized) piece of narrow black ribbon.


Fold the ribbon in half and insert through the center of the heart.


Take the ends of the ribbon and insert through the loop. Pull tight.


Now our necklace is ready to tie on and go!