Saturday, September 21, 2013

Fall-ow me into Autumn Day 6 Glitter Leaf Earrings

Thanks for joining me for Day 6!
I love sparkle in my jewelry and today's project has an emphasis on glitter!


Mix up a batch of jewelry clay and roll it out to about 1/8 inch thick.
Use a small leaf cookie cutter to cut out 2 jewelry clay pieces.


Pick out some corresponding glitter colors...


Sprinkle glitter onto the clay leaves and pat down with a q-tip.


Make a hole in the stem of the leaf with a toothpick.
This will be the hole you add a jump ring to.
Let these set for 24 hours.


To turn these leaves into earrings, attach some earring hooks with jump rings.


Now you have some super sparkly leaf earrings!


Don't forget to head over to the giveaway tab up top and enter to win some Aanraku Zipper Pulls!

Friday, September 20, 2013

Fall-ow me into Autumn Day 5 Leaf Mold Pin

Welcome back for Day 5! Today I'm sharing a Leaf Mold Pin!


This is a super simple project using EasyCast Resin, Castin' Crafts Opaque Red Pigment, Jaquard PearlEx in Gold, and a WhysperFairy Leaf Mold.


This is one of several great molds by http://juliesbits.blogspot.com/ They work wonderfully with resin and polymer clay and can even be used for food! You can check them out here:
http://www.etsy.com/shop/WhysperFairy?ref=em or here:
http://www.etsy.com/shop/Molds4You?ref=em


I want a golden color for my leaf so I'm coloring it with some PearlEx Powder by Jacquard in Brilliant Gold 656.
PearlEx works wonderfully with resin! You can see all the colors they make here: http://www.jacquardproducts.com/pearl-ex-pigments.html


I also want a hint of red so I'm adding a swirl of opaque red. It is super strong so I'm just adding a bit on a toothpick.


The PearlEx has a great shimmer!


WhysperFairy Molds don't need any mold release- just fill with resin!


Let this set for 24- 72 hours to harden completely.


All you need to turn the piece into a pin is a pin back and some E-6000. 


Add some E-6000 to the pin...


and press firmly to the back of the leaf.
Let this sit for 24 hours to get maximum adhesion.


And Viola this gorgeous golden leaf is ready to wear!


Don't forget to head over to the giveaway tab up top and enter to win some Aanraku Zipper Pulls!

Thursday, September 19, 2013

Fall-ow me into Autumn Day 4 Molding a Grape Globe Pendant

Hello again! Today I'm showing you how to make a gorgeous globe pendant out of a simple grape and some dried berries picked on a nature trail!


To make the mold I'm using EasyMold Silicone Rubber. It is a pourable liquid molding material that conforms to odd shaped items... like round ones!


You'll need a disposable cup that is tall enough to hold the object you're molding, some rice, and a grape.
The grape I'm using is a Scuppernong muscadine grape that was grown by my granddad. This variety is larger and more round than the typical seedless grapes. The one I choose is not ripe yet, it is still very firm so I can get it back out of the mold without popping it!
The mold will take on the finish of the grape and any surface imperfections so be sure to pick a nice smooth one.


Put the grape in the cup and cover it with rice...


Measure how much rice it took to cover the grape, this is how much EasyMold you need mix up.


Use a bit of polymer clay to stick the grape to the bottom of the cup...


The area where the clay touches the cup will be the mold's top opening.


Mix your EasyMold and fill the cup covering the grape.
Let it sit to cure for 24 hours before removing the grape.
Give it an additional 24 hours before using with resin.


The bottom of my mold came out a bit lumpy so I'm settling it in some sand to keep it level.


I'm using a cluster of dried purple berries to put in my resin...


Mix up a batch of EasyCast Resin and fill the mold about halfway...


Stuff in the berries trying not to crush them...


Finish filling the mold with resin...


Let this sit for 24-72 hours until hardened.


I didn't fill my mold quite enough so I've settled the globe in sand, domed the top, and let it set for additional time to harden.


To turn the globe into a pendant I'm using an eye pin, a bead cap, some pliers and some E-6000.


Grab the eye of the eye pin and make a small coil...


Bend the wire at a 90 degree angle...


Slide the hole in the bead cap over the wire, your coil should be flush with the bead cap...


Now clip off a bit of the wire and make another coil, this will be the loop you hang on the necklace.


Apply some E-6000 to the globe...


Firmly press the prepared bead cap on and let set for 24 hours to get maximum adhesion.


Attach it to a necklace chain and now you have a festive fall globe that began as a grape!
 

Don't forget to enter the giveaway on the Giveaway Tab to win some Aanraku Zipper Pulls!

Wednesday, September 18, 2013

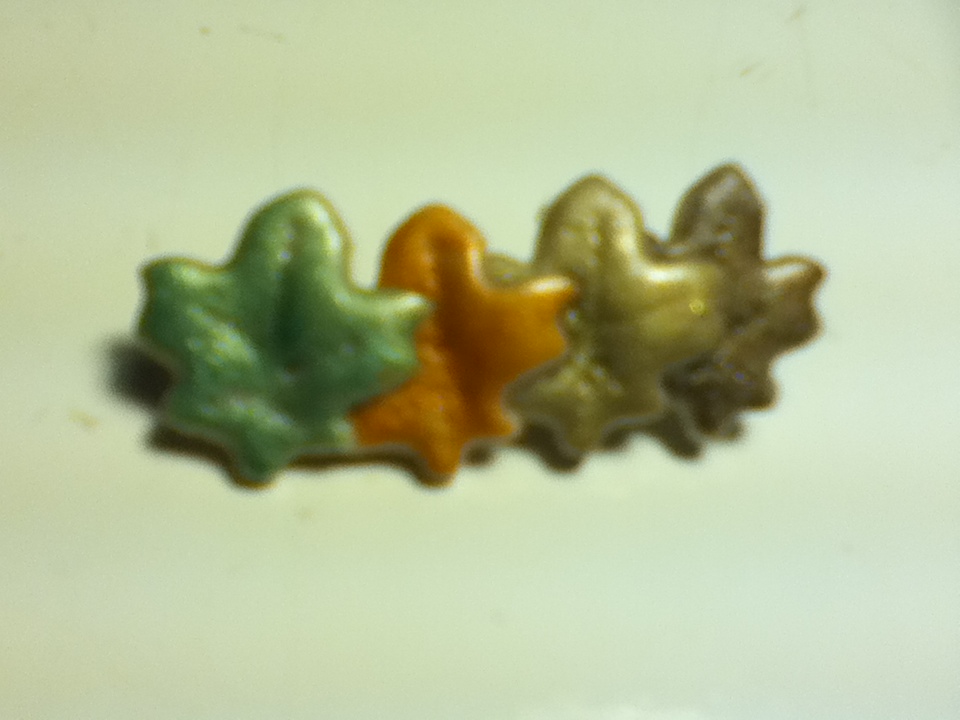
Fall-ow me into Autumn Day 3 Jewelry Clay Leaves Pin

Welcome back for day 3!
Today's project is a clay leaves pin to show off the changing colors of the leaves in autumn!


Start out with a small batch of EnviroTex Jewelry Clay (see the tab up top for a how to mix jewelry clay)
Roll it out like you would cookie dough. I'm using an acrylic rolling pin that is sold for use with the polymer clay and I rolled it out to approximately 1/8 inch thick.
Be sure to powder your surface and rolling pin with baby powder!

I'm using a tiny leaf cookie cutter (also found with the polymer clay)


Coat the cutter with baby powder or cornstarch before you use it on the clay.


Cut out some leaves!


I'm using a toothpick to add some leaf lines.


Now I'm using some eye shadow and a q-tip to color the leaves!
I picked up some eye shadow at the dollar store to use specifically for crafts, due to the possible health hazard I would not advise using the eye shadow on your eyes if you "double dip" your q-tip.


Here they are all colored!


 Now just overlap the leaves and let it cure overnight!
If your leaves don't seal together just glue them back together with some E-6000.


Now, another new product to tell you about!!
Castin' Crafts Resin Spray is a great clear gloss finish/sealer. It is like resin but as spray paint!
This is a crucial product when using eye shadow to color your jewelry clay - the eye shadow pigments rub off on you skin so they need to be sealed. This product makes it so simple!


In a well ventilated area, put your jewelry clay piece on a scrap piece of paper (or scrap box in my case!)
Hold the resin spray about 13 inches from the surface of the piece and spray a thin coat with a sweeping motion.


Give it about 3 thin coats, letting it dry for a while between coats. The resin spray gives a great shine!


Once the resin spray has dried (about an hour) you can glue on the pin back...


Add a dab of E-6000 to the pin back...


Press firmly to the back of the piece and let dry for 24 hours for maximum adhesion.


And it's ready to wear! I can't wait for the real leaves to start changing colors!!


Don't forget to head over to the giveaway tab up top and enter to win some Aanraku Zipper Pulls!