Saturday, March 9, 2013

Gold Flake Bangle


This is a follow up to my last post! I grabbed a bangle mold and repeated the same process as the Gold Flake Resin Hearts to make this gorgeous bracelet.
Here's some pics of the process:


Supplies: EasyCast Resin, Castin' Crafts Mold Release, Bangle Mold, Cup, Spoon, Gold Flakes (less than $3 on Ebay), Eyepins.
*ETI suggests wearing gloves when working with resin for safety* Gloves also help keep your nails nice :)


Spray the mold with mold release and let dry and Mix a batch of EasyCast Resin.


This is a mold from Yaley Enterprises.
They make resin and Deep Flex Resin Molds along with a variety of colorants.
Check out all the offer here: http://yaley.com/SitePages.asp?ID=46


Carefully pour the resin into mold- a paper cup is great for this because you can pinch a spout.


Poke the gold flakes into the resin with an eyepin and push them around until they are where you want them.


Make sure you have enough gold flakes and that they are where you want them. Put the mold in a safe a level spot and let set for 24-72 hours.


All ready for a night out!


I love how it looks like it's floating!

Friday, March 8, 2013

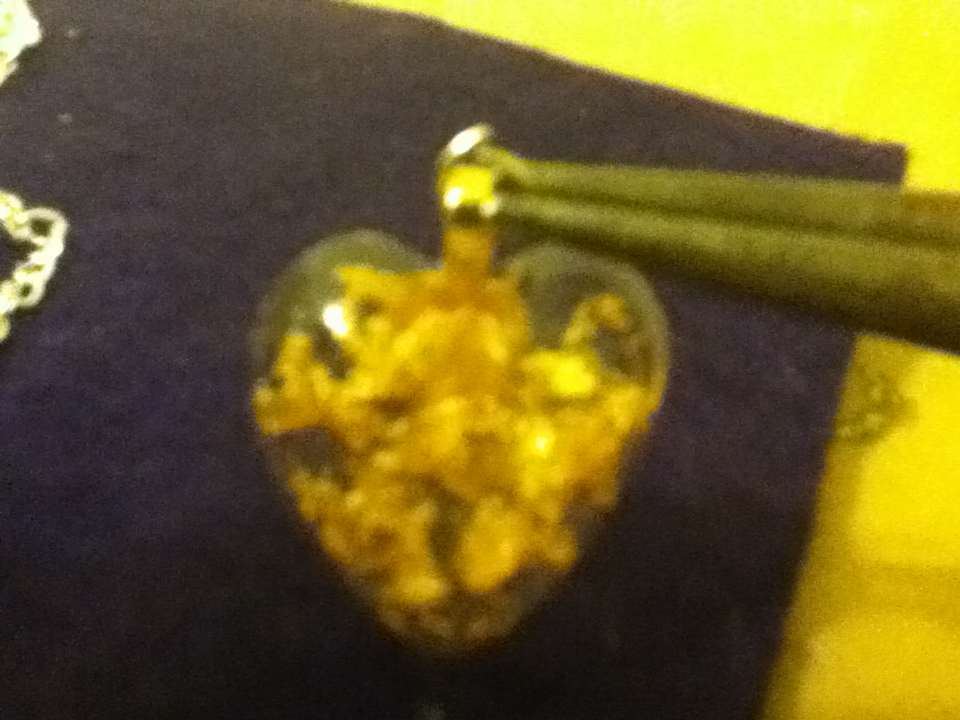
Gold Flake Resin Hearts


I made these for Christmas presents for some of my friends and one of my college professors and for my mom and sister- They were all over the moon! They couldn't believe that I made the jewelry!


In hopes of sharing some of the joy I want to share this with everyone I can! Who knows maybe it will start a fad!
We'll of course start with gathering our supplies:


It is so weird but my picture is sideways lol and does not want to be put right!
Well, you can still see our basic resin supplies: a Mold (I used the heart cavity), EasyCast Resin, Castin' Crafts Mold Release.
*ETI suggests wearing gloves when working with resin for safety* Gloves also help keep your nails nice :)


For the jewelry portion we will need some Gold Flakes- I got this baggie off of Ebay for less than $3 and it will make plenty of jewelry pieces! I used an Eyepin to add the gold to the resin but you could also use a Toothpick. Some jewlery findings of your choice: Bails (for keychains and necklaces) or Pin Backs (the type I'm using is sold as a "tie tack" but I prefer these for small pieces). E-6000 adhesive is what I use to attach bails and pin backs to the resin. You will need the Necklace Chain or Keychain and Jump Rings if you're going that route and also Jewelry Pliers to get the jump rings open.


Spray the cavity (cavities) of your choice with Castin'Crafts Mold Release and then let it dry and Mix up a batch of EasyCast Resin.


This is a mold from Yaley Enterprises.
They make resin and Deep Flex Resin Molds along with a variety of colorants.
Check out all the offer here: http://yaley.com/SitePages.asp?ID=46


Pour the resin into the cavity (cavities) that you have chosen, but not all the way to the rim- we have to leave some room for the gold!


Pick out some pieces of Gold Flakes to start with.


Using the eyepin or toothpick, begin pressing the gold into the resin. The gold flakes are so light they don't settle to the bottom like glitter. This allows us to submerge them to a variety of depths.


Add as much gold as you like, in any pattern you prefer. Remember these aren't going to settle so be sure to push some to the front and be sure that the ones closest to the surface get sealed into the resin.


Once it is to your liking, set it in a level spot for 24-72 hours to harden.


Once the resin has set, gently press down on the mold to pop out your resin piece.


Pick the jewel finding you want- bail or pin back.


Add a tiny bit of E-6000 to the jewelry finding.


If too much is added it will seep around the edges of the jewelry finding- not the end of the world but for those of us with a touch of OCD it's nice to try and avoid it :)


For the bail, we want to be sure and center the hoop just over the top of the heart. Let this dry for about 24 hours for maximum adhesion.


For the pin back, we want to center it on the back of the piece. Once this one has dried it is all done!


Once the glue is dry on the bails, we can add our necklace chain or keychain.


Grab a jump ring with a set of pliers. With the other set of pliers, twist the ring open.


Slip the ring onto the bail of the resin piece.


Slip the chain of your choice onto the jump ring add twist the ring closed.


And here they are, all ready to be packaged for presents! Or worn straight away!!

I have got to try this in a bracelet too!! When I do I will be sure to share the results!!


Saturday, March 2, 2013

Film Strip Resin Bangle Tutorial


First, we must gather our supplies...


We need some EasyCast Resin, some Castin' Craft Mold Release, and a bangle mold. Then we need some spoons to measure the resin and cups to mix it in. Stir sticks and a heat gun are optional. Napkins are also good to have on stand by.
*ETI suggests wearing gloves when working with resin for safety* Gloves also help keep your nails nice :)


For our bangle film strip design, I'm using Tim Holtz Film Strip Ribbon, Glossy Accents adhesive, and printable transparancies with some scissors too.


Our first step is to cut the right amount of film strip ribbon to fit the mold. For my mold, this was 15 frames long. Make sure that the height fits in your mold too- you can trim some of the black lining on either side of the ribbon if needed.


This is a mold from Yaley Enterprises.
They make resin and Deep Flex Resin Molds along with a variety of colorants.
Check out all the offer here: http://yaley.com/SitePages.asp?ID=46


Now we can pick out the images we want in our film cells. I went to Google images and limited the search to large size pictures. To get the best resolution, I picked the largest size I could, like desktop wallpaper size. Next, I copied them to Microsoft Word- I'm sure you could use your program of choice this is just the one I happen to have on my comp.
I measured the openings of the little film windows to be 16mm wide by 11mm tall this converts to .63 inches by .44 inches for Word. I copied, pasted, and resized all of the pictures I chose- I made sure I had at least 15 pictures since that is how many frames I needed to fill. You could also print a bunch if you plan to make multiple bracelets!


Print your pictures out on the transparency. Make sure to change your printer properties so it knows it's printing on plastic instead of paper. Also, be sure that you put the rough side of the transparency toward the ink so the ink will stick. You can find transparencies at office supply stores in boxes of 25ish but you can check your local college bookstore to see if they sell the individually. I found mine at the community college bookstore for 50 cents each!
Also, you'll notice my pictures aren't sized perfectly- as long as you get them close you can use the best fit as a cutting template :)


Lay out the images, making sure they are the right side up. We will use Glossy Accents to glue the pictures to the film strip. Be sure to put the glue on the rough side of the transparency to help them stick.

I used my resin and mold release as paper weights to keep the film strip flat.


I used a popsicle stick to help get all the air bubbles smoothed out. Let this dry for a while. Glossy Accents dries pretty fast so this won't take incredibly long.


Now, we've got a lovely customized film strip!


 There was a bit of an overlap so I trimmed the ends of the film strip.


You can see through the mold enough to double check how it looks.


Spray the mold with Castin'Crafts Mold Release and Mix up a batch of EasyCast Resin.


Carefully fill the cavity of the mold with some resin. Paper cups are great for this because you can pinch a pour spout.


Double check to be sure the film strip is completely encased in resin. Now, put it somewhere level to set for 24-72 hours.


Once the resin has set we can unmold our bangle. Start by breaking the air seal by pulling on either side of the mold. Do this all the way around the circle. Then press down on the mold and, if the resin has hardened, it should pop right out. If it's being stubborn you can pop the mold in the freezer for a couple of minutes to speed things along.


And Viola! A perfectly unique film strip bangle ready to make all your friends jealous!


Friday, March 1, 2013

Join me on my quest to make one of a kind resin jewelry!

I just love creating jewelry with resin! My resin of choice is EasyCast by ETI. I love that it is so easy to mix up a batch and pour. It is designed for deeper pours like those needed for jewelry molds! It also hardens perfectly clear and beautiful!

 
This is the resin that I will be working with for my creations!