(After the photo tutorial keep scrolling for The Instructions take directly from EasyCast Resin)
Step 1. Gather your mixing supplies: EasyCast Resin, 1 cup with measurment increments, another cup for mixing and pouring (I usually go with a paper cup but be sure not to get a wax coated one the wax can come off in your resin), 2 plastic spoons or stirring sticks.

EasyCast Resin has 2 parts: the Resin, which has a white lid and white printing on the bottle and the Hardener, which has a black lid and black printing on the bottle. The two parts must be mixed together in equal amounts such as, 1 teaspoon of each or 1 ounce of each etc.

ETI (the same company that makes EasyCast Resin) sells a nice mixing cup set that has cups with measuring increments on the side and some stirring sticks. There are also other smaller cups to measure with that are good for tiny batches like when you are filling small bezels (these are like the cups that come with NyQuil and Pepto Bismal).

For demonstration purposes, I am using a mason jar. I used a Sharpie on the measurement lines to make them easier to see.

Decide how much resin mixture you need and split it in half. You will need half of the total amount from each bottle.
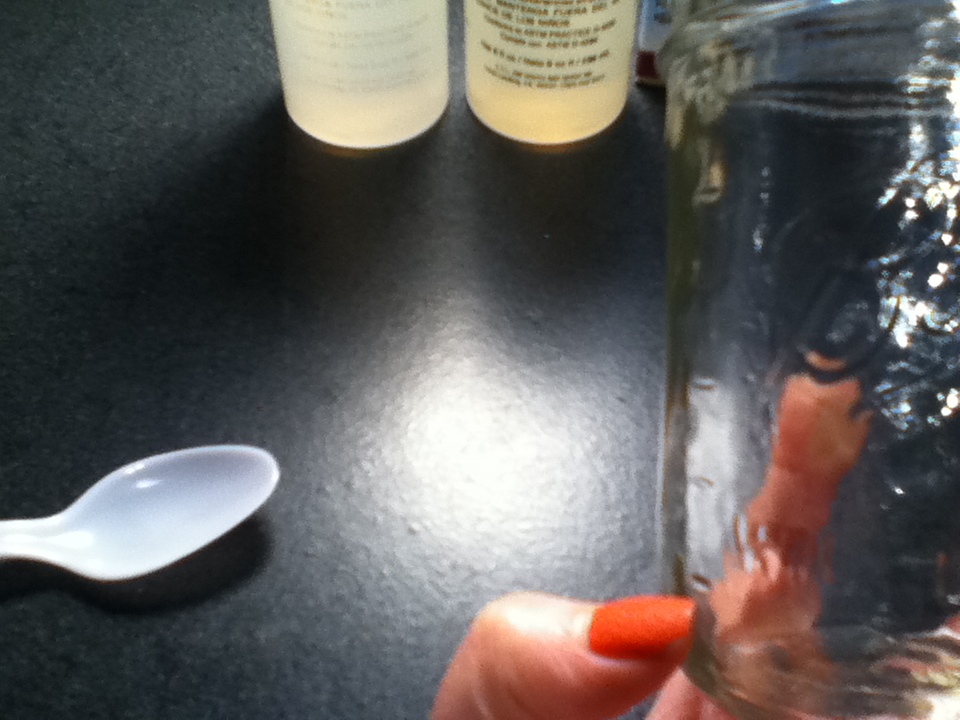
Start by pouring in the Resin (white lid) to the desired measurement line. (I am using colored water so it can be seen easier- the resin will be clear!)

Now, add the same amount of the Hardener (black lid). You should now be at the measurement line for the total amount you need.

Take the first spoon and gently mix the 2 parts together for 2 minutes. Stir slowly and gently to help prevent air bubbles from forming.

After mixing for 2 minutes, pour the resin mixture into the second cup.

Now get your second spoon and mix gently for another minute.

After mixing for the additional minute, the resin is ready to be poured!
*This is when you would add color!*
Carefully pour the resin mixture into your prepared mold. Go slowly to avoid overfilling the mold cavity and to prevent air bubbles. (Molds should be sprayed with some Castin'Crafts Mold Release before you pour your resin.)
*This is when you would add things you want to embed in the resin!*

If you have air bubbles from pouring, you can use a heat tool. The heat helps bring bubbles to the surface to pop them. Use it on low heat, keep it moving, and don't get too close.
*Be careful not to melt the mold!*

Once you are happy with your resin pieces put them in a safe place to harden. The amount of time that the hardening process takes varies depending on the size of the mold cavity and also the temperature and humidity. The average time is 24 hours (1 day) for soft cure and 72 hours (3 days) for hard cure.
The smaller the piece the longer it takes, the larger the piece the quicker it sets.
Soft cure will hold its shape but still be somewhat pliable (don't wear it yet!).
Hard cure will no longer be pliable and will be ready to wear!
Resin does best on warm, dry days. When too cold, the resin gets cloudy and gets full of micro bubbles. When too humid, it will stay soft and tacky.

When the resin has set, press firmly on the back of the mold to release the piece. When in a firm mold you can twist it like an ice cube tray to help break the air seal. If it is fully set it will usually pop right out. If it doesn't it may need a few more hours to harden.
If it is done and is just being stubborn you can put the mold in the freezer for a few minutes to help it release from the mold.
Now, you are ready to use your resin piece.

Finishing touches:
Sometimes there are imperfections, if there are little bits where the mold cavity over flowed they can be carefully cut away with scissors.

If the edges are rough you can use a drilling tool with a grinding attachment. Dremel is a common brand (I use a generic by Chicago Electric that I bought at Harbor Freight).
Sanding or grinding will give a matte finish to those areas.

INSTRUCTIONS taken directly from EasyCast Resin:
1. IMPORTANT:
EasyCast
performs best at 75° F / 24° C. EasyCast bottles should feel slightly warm to
the touch, if they feel cool, they must be warmed by placing them in warm tap
water (not hot) for 5 to 10 minutes prior to using. If bottles become
overheated, allow them to cool before using. Never mix hot resin and hardener
together! Mixing EasyCast when cold will result in cloudy casts with
microscopic bubbles.
2. MEASURE: Carefully
measure equal amounts of resin and hardener into a straight sided, flat bottom,
wax free
measuring container. WARNING: Do
not vary the 1 to 1 ratio for any reason! Failure to measure equal amounts of
resin and hardener will result in soft or sticky castings. Do not simply
pour the contents of both bottles and expect toget properly measured amounts,
always measure!
3. DOUBLE MIXING (REQUIRED): For
EasyCast to chemically blend, it must be mixed together in two stages. With the
resin and hardener measured, use a stir stick and mix together for two full
minutes. During mixing, use the stir stick to scrape the sides and bottom of
your mixing container. Occasionally scrape the mixture from your stir stick
back into the solution. After two full minutes of mixing, pour the contents
from the first container into a second container. Using a new stir stick,
mix the contents of this second container another minute, again
scraping sides of container and stir stick. Pour immediately from this second
container.
4. BUBBLES: EasyCast has
been formulated to self degas within a few minutes of pouring under most
casting conditions. However adding fillers such as granite or metallic powders
can result in a cloudy, bubble filled mixture. These bubbles will slowly rise
to the surface of your cast. If needed use a hair dryer and pass heated air
quickly over the EasyCast surface to remove bubbles. Be careful, excess heat
can melt or warp plastic molds.
5. CURE: For best results,
cast pieces should cure at temperatures between 70° F / 21° C and 85° F / 29°
C. Curing time will vary depending on room temperature and thickness of cast.
Thin castings will take longer than thick castings. Normal cure for castings
1" thick is 24 hours for soft cure, 72 hours for hard cure.
6. DE-MOLDING: Rigid type
plastic molds can usually be twisted slightly to break the cast pieces free.
Pushing in from the back side of the mold will also help. Note: Do not attempt
to de-mold pieces that have not cured for a minimum of 24 hours. You may damage
your casting by doing so.
7. TRIM & SAND EDGES: Edges
can be trimmed with a knife or sanded if needed. Use 150 grit or finer
sandpaper to remove excess material. A file, sander or Dremel tool can be used
for shaping and carving completely cured castings.
8. CLEAN UP: While liquid,
the material can be cleaned from tools with alcohol or solvent. Use warm water
and liquid soap to clean from skin. NEVER USE SOLVENTS OR ALCOHOL TO CLEAN
EASYCAST FROM YOUR SKIN.
This is a wonderful blog with some great tutorials. Will definitely bookmark if I feel like making resin or resin related things in the future! :)
ReplyDeletegreenafy on SB
Thanks so much!! If you make some resin things I would love to see how they turn out!!
Delete